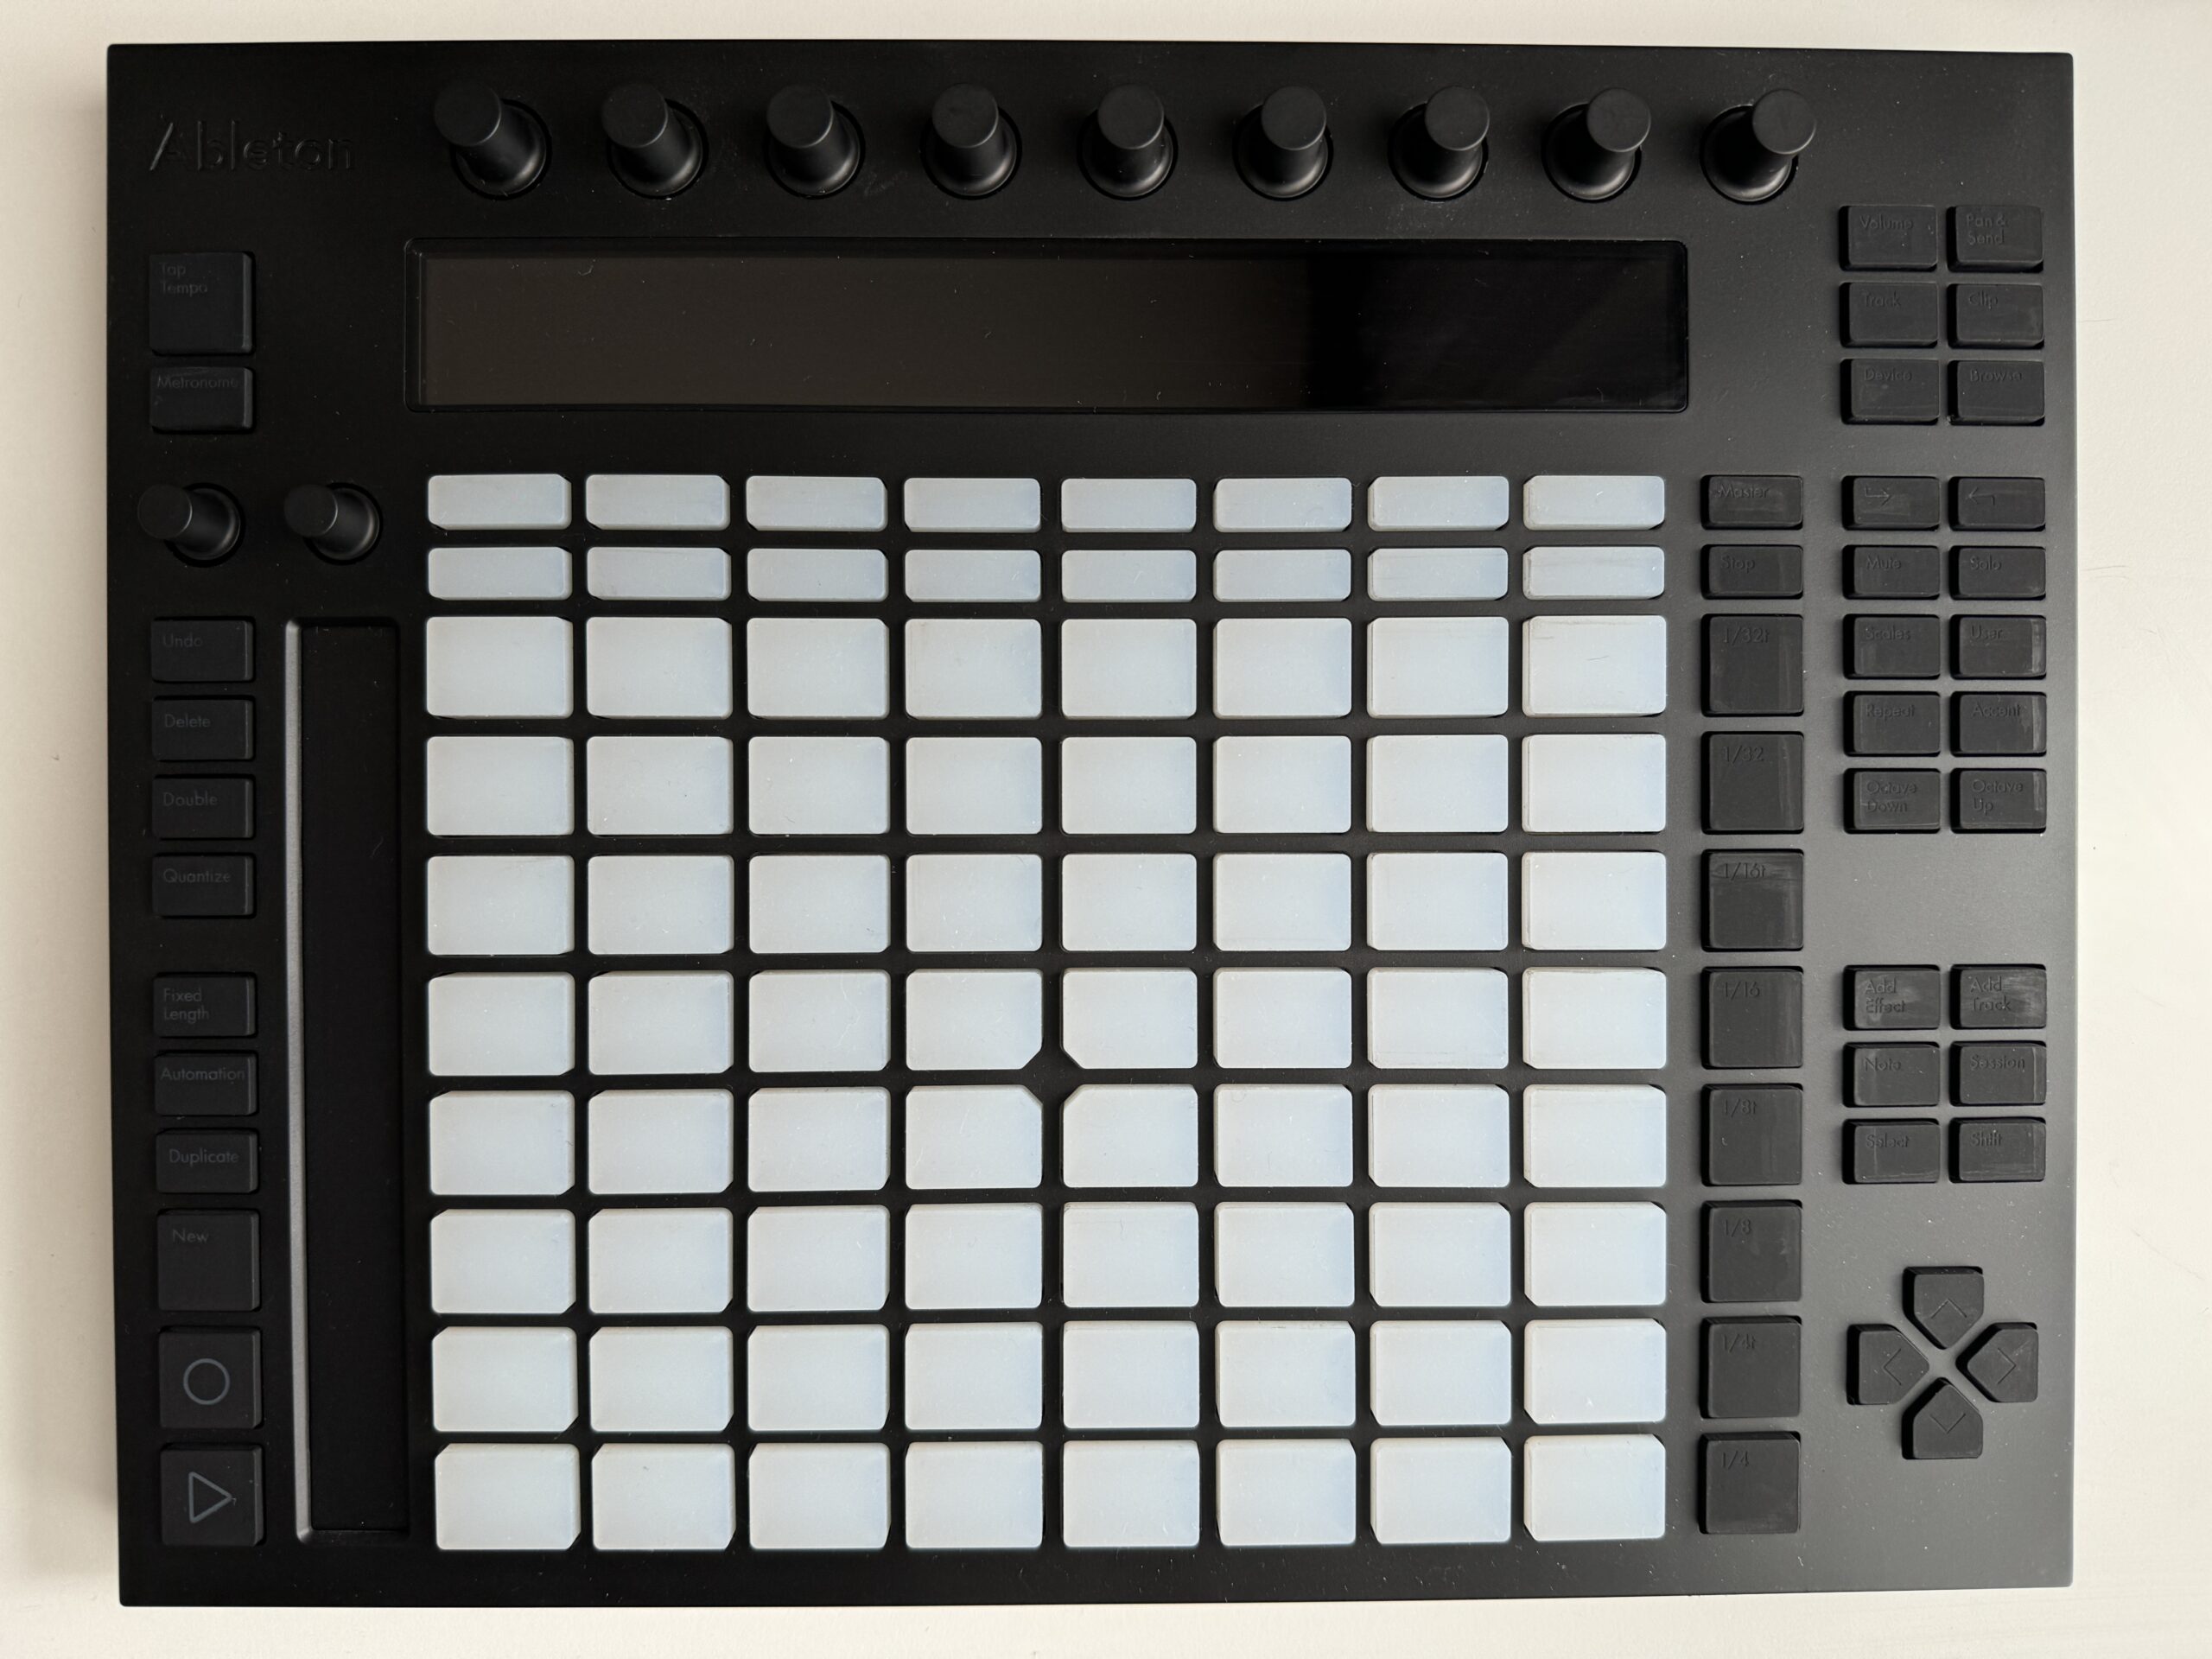
Has the surface of your favorite piece of music gear gone sticky without you noticing? That might be due to a phenomenon called hydrolysis — where materials like plastic or rubber degrade after reacting with moisture. In recent years, some manufacturers have used materials prone to hydrolysis, likely to keep production costs down. People like me, who don’t know any better, end up happily buying cheap gear, only to find it’s quietly degraded into a sticky mess. In this post, I’ll cover why hydrolysis happens, how to prevent it, and how I restored my original Ableton Push.
Restoring a Hydrolyzed Ableton Push
Let’s get right into restoring my hydrolyzed Ableton Push.
Since this involves disassembling the gear, please note that everything below is at your own risk.
I can’t be held responsible for anything that happens.
1. Checking the Damage
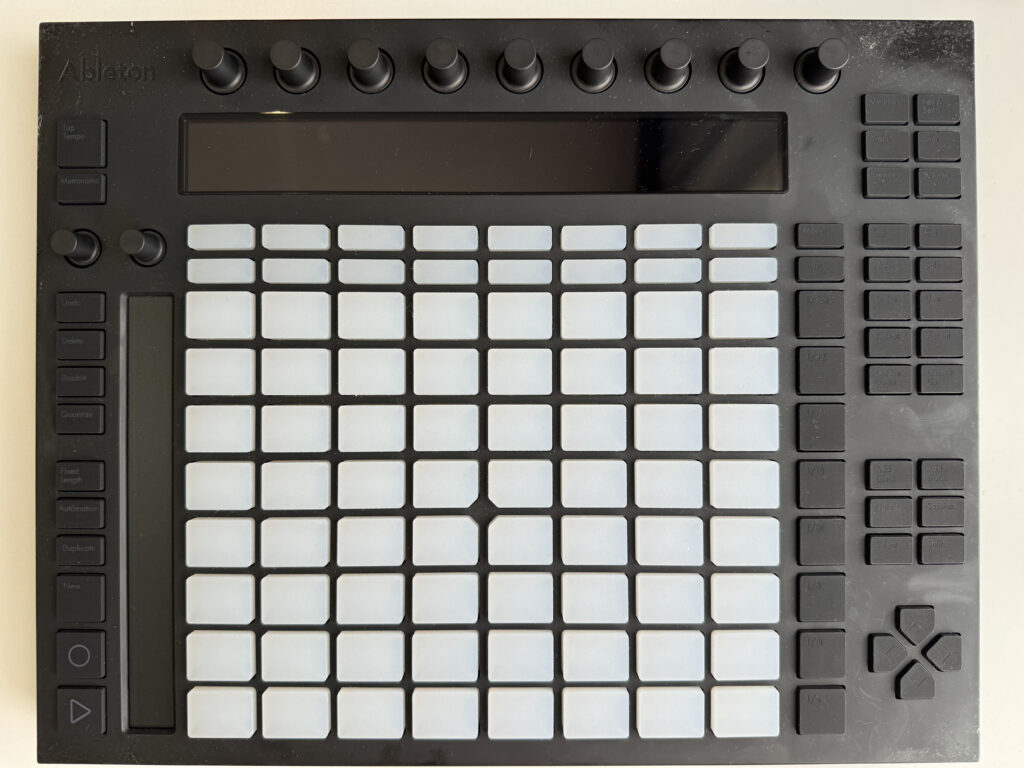
It’s hard to tell from the photo, but especially in the upper right, there was noticeable stickiness — hydrolysis clearly in progress. The whole surface felt tacky.
I’d had it properly boxed up, thinking I wouldn’t use it for a while, and this is the state I found it in.
2. Prep Work
Before removing the stickiness, I disassembled the unit to make the work easier.
I forgot to take photos, but after removing the screws on the back and taking off the back cover, the circuit board is held in place, so you’ll need to remove more screws.
The knobs on the front are also secured tightly with hex screws, so removing everything all together took longer than expected.
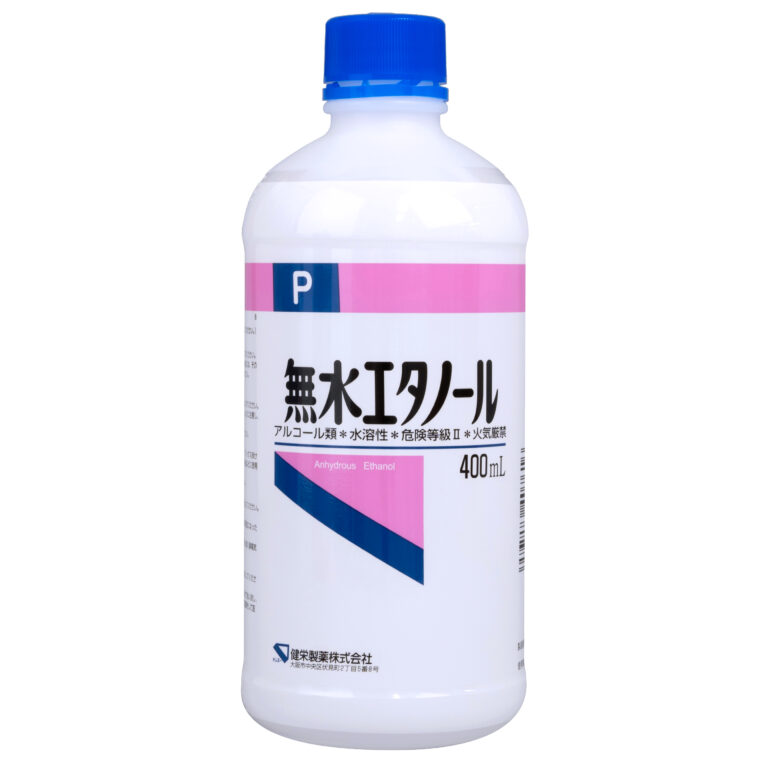
3. Wiping with Anhydrous Ethanol
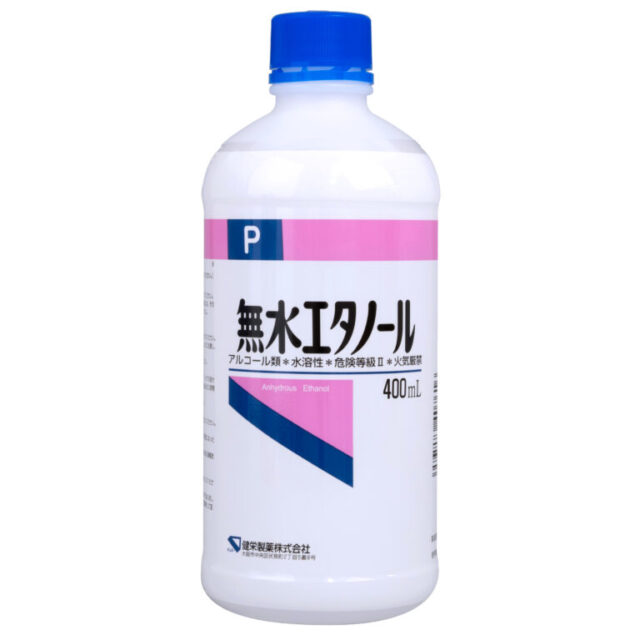
Prepare a suitable cloth for wiping, soak it in anhydrous ethanol, and start wiping down the surface.
The hydrolysis had progressed further than it looked — I was able to wipe off more residue than I expected.
Wipe thoroughly, more than you think is necessary, and let it dry.
* Be careful not to wipe the display panel.
* Store anhydrous ethanol according to the label instructions.
4. First Sanding Pass
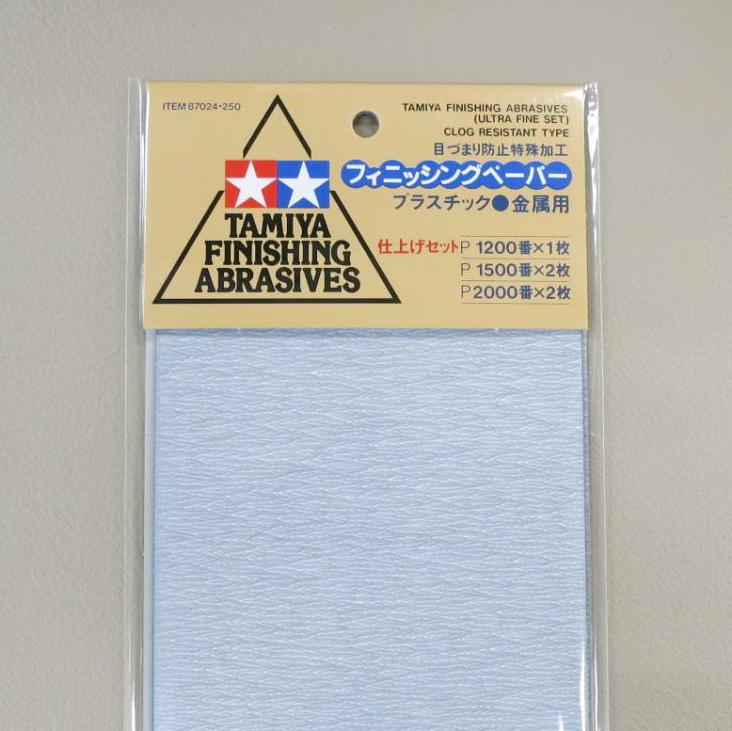
The areas I’d wiped down ended up with an uneven surface, so I sanded them flat.
I did a rough pass with the 400-grit paper from Tamiya’s finishing paper set.
After that, since there was sanding residue left behind, I washed the unit thoroughly with a neutral detergent to remove the oils, then let it air-dry in the shade.
5. Priming with Surfacer
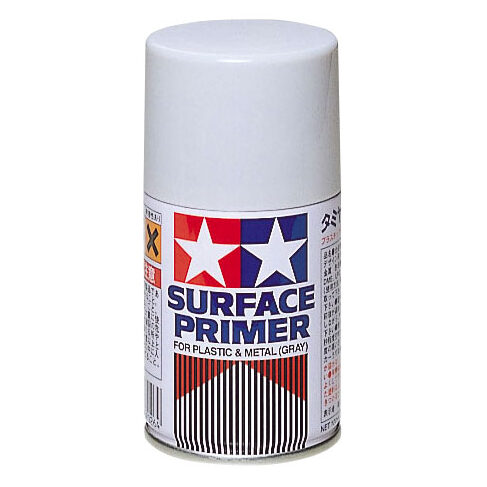
Once the sanding is done, spray on a surfacer (primer).
This smooths out the surface and helps the paint color come out better.
6. Repeating Sanding and Surfacer
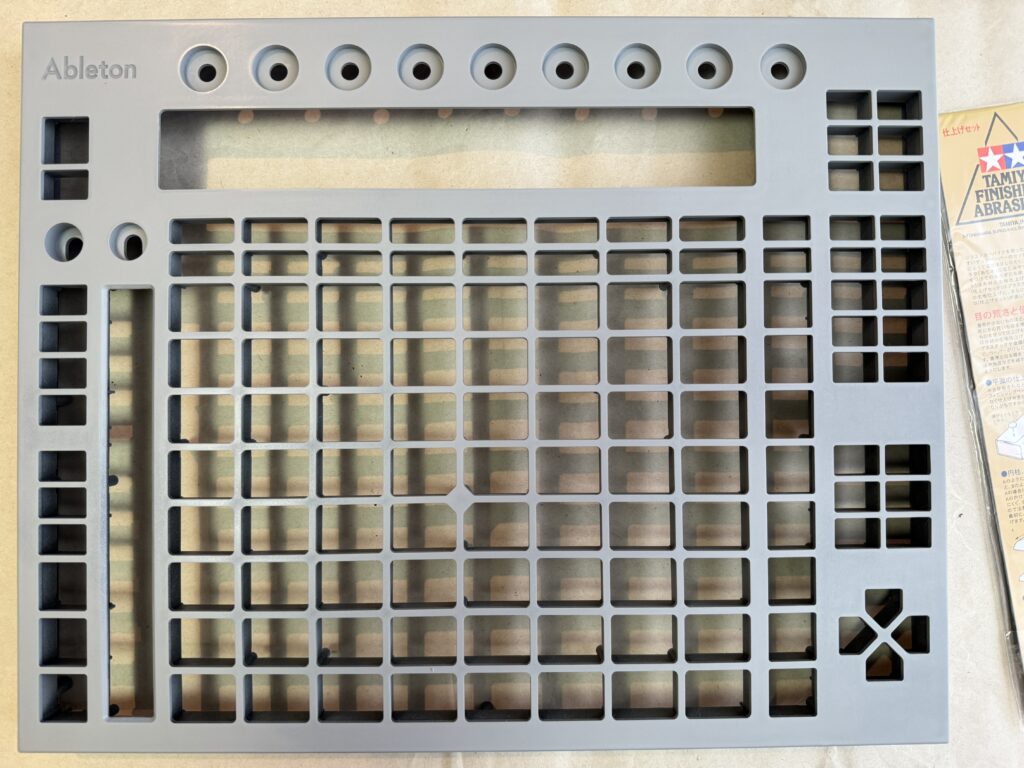
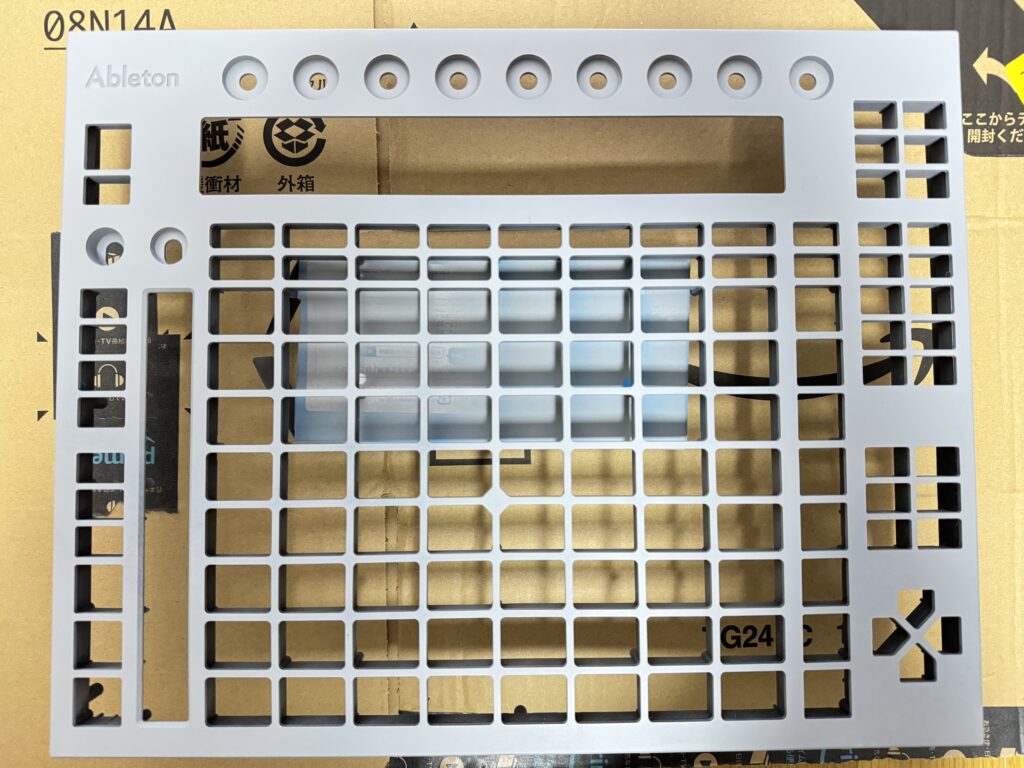
Depending on how uneven the surface is, repeating the spray-then-sand cycle a few times until it’s smooth will give you a better finish.
After each sanding pass, I washed it with neutral detergent, dried it, and sprayed surfacer again.
Earlier I only used 400-grit paper, but here I also used 600 and 1,000 grit to get it even smoother.
This part is pretty tedious, so pace yourself and work with the time and energy you’ve got.
7. Top Coat
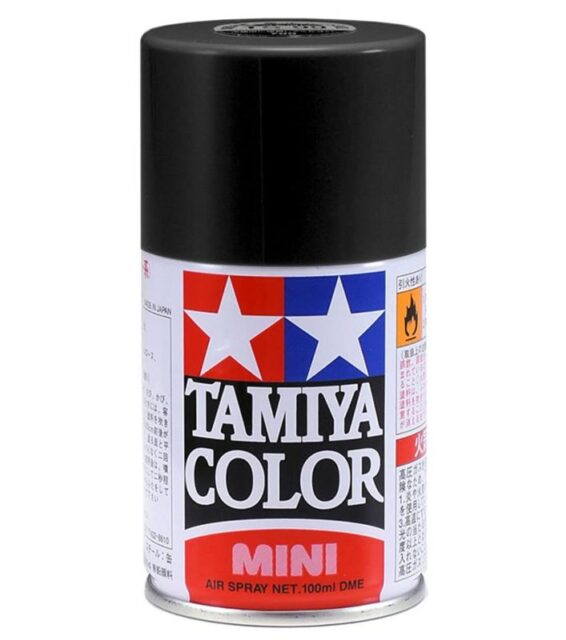
Finally, spray on whatever color you like to finish it off.
I wanted a matte (non-glossy) finish, so I went with matte black.
A few even coats and it’s done.
8. Done
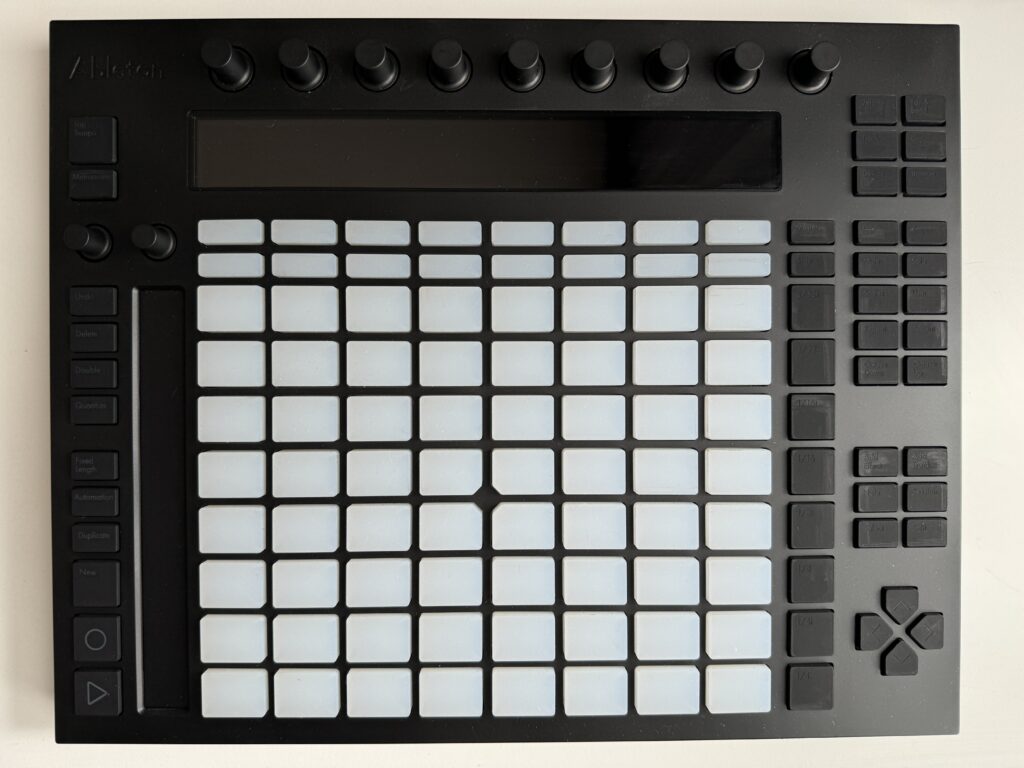
Finally, I put all the screws I’d removed back in place — done!
I powered it on just to confirm everything still worked fine.
Wrap-Up
Degradation from hydrolysis isn’t something you can avoid entirely, but the right precautions and maintenance can slow its progress.
If your gear has gone sticky, try restoring it at home with anhydrous ethanol.
Reference: Causes, Prevention, and Common Cases of Hydrolysis
What Causes Hydrolysis
So why does hydrolysis happen in the first place? It’s mainly driven by the following factors.
- Humidity: Storing gear in a high-humidity environment makes it easier for moisture to build up inside, which promotes hydrolysis.
- Temperature: Hot, humid environments speed up hydrolysis. Be especially careful about direct sunlight or storage in enclosed spaces.
- UV light: UV exposure also contributes to hydrolysis. Leaving gear somewhere sunlight reaches will accelerate degradation.
These factors reportedly combine and compound each other, driving hydrolysis further.
Preventing Hydrolysis
You can’t fully prevent hydrolysis, but the following measures can reportedly slow its progress.
- Humidity control: Store gear somewhere with low humidity. A dehumidifier can help too.
- Temperature control: Avoid direct sunlight and high heat; store gear somewhere well-ventilated.
- UV protection: Keep gear out of direct sunlight. UV-blocking covers can also help.
- Cleaning: Clean regularly to wipe away dirt and sweat.
Common Cases
Hydrolysis can affect all kinds of music gear. Here are some common cases:
- Synthesizers: Rubber knobs and buttons go sticky, making you reluctant to touch them — which gets in the way of playing.
- Effects pedals: Plastic enclosures go sticky, the paint starts peeling, and it starts to feel like even the sound has gotten worse.
- Guitars: Pickguards and fretboards go sticky, making them harder — and less enjoyable — to play.
- Headphones: Ear pads go sticky, making you not want to put them on.
If you notice any of these symptoms, hydrolysis is a safe bet as the cause.